SPECIAL INSTALLMENT OFFER
00
DAYS
00
HOURS
00
MINS
00
SECS
No Kiln Ceramics; Atmospheric ways for contemporary clay
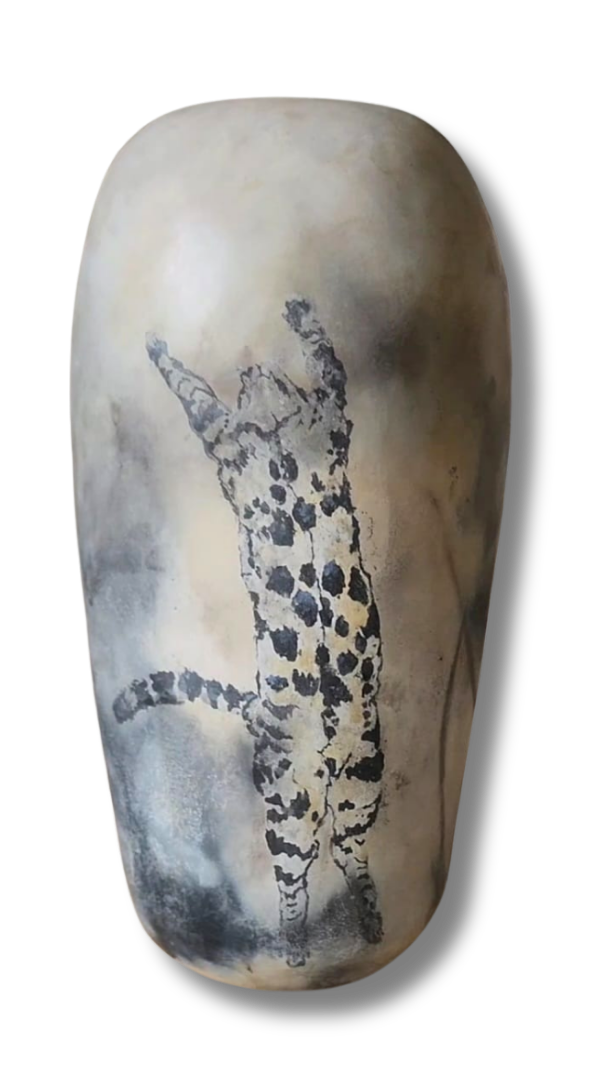
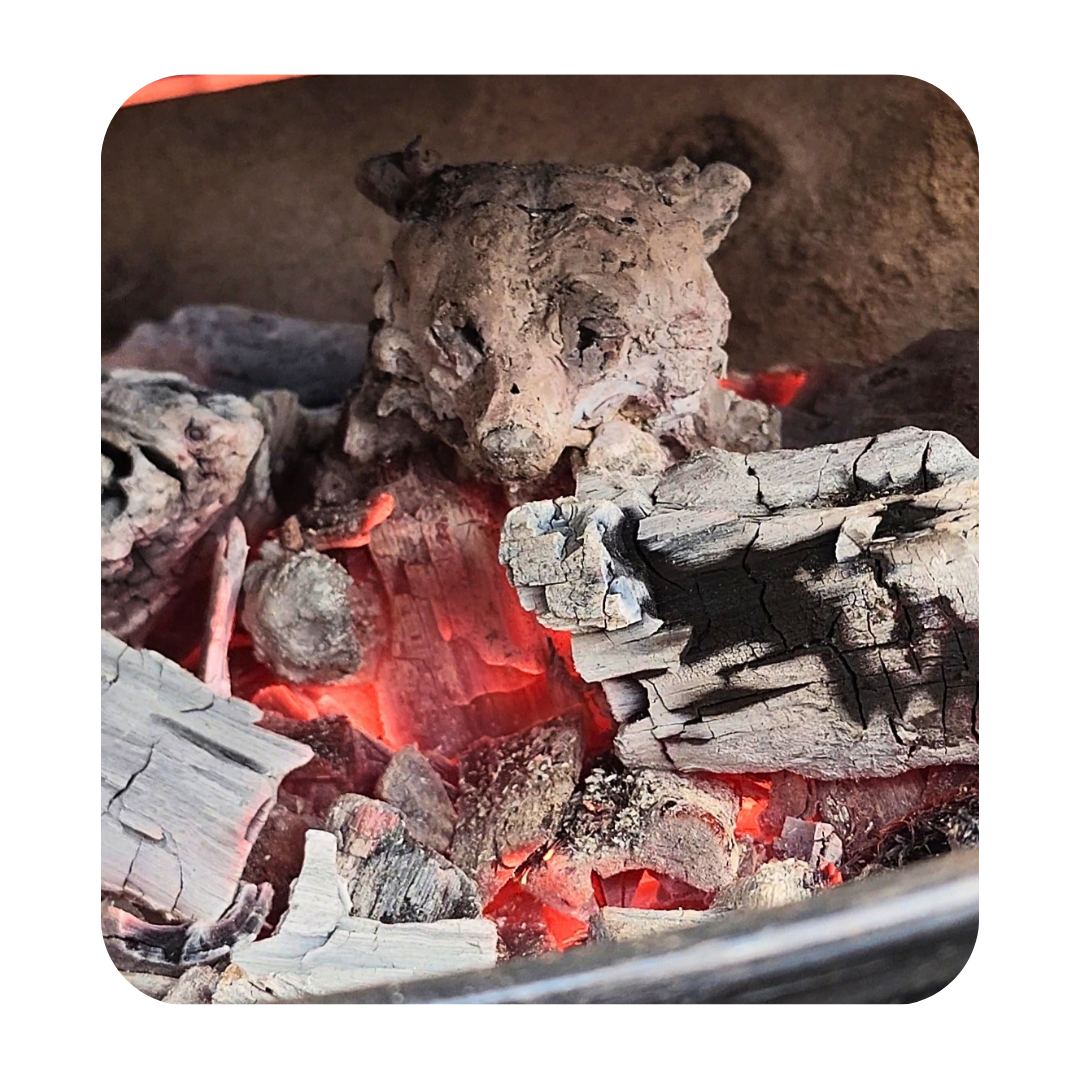
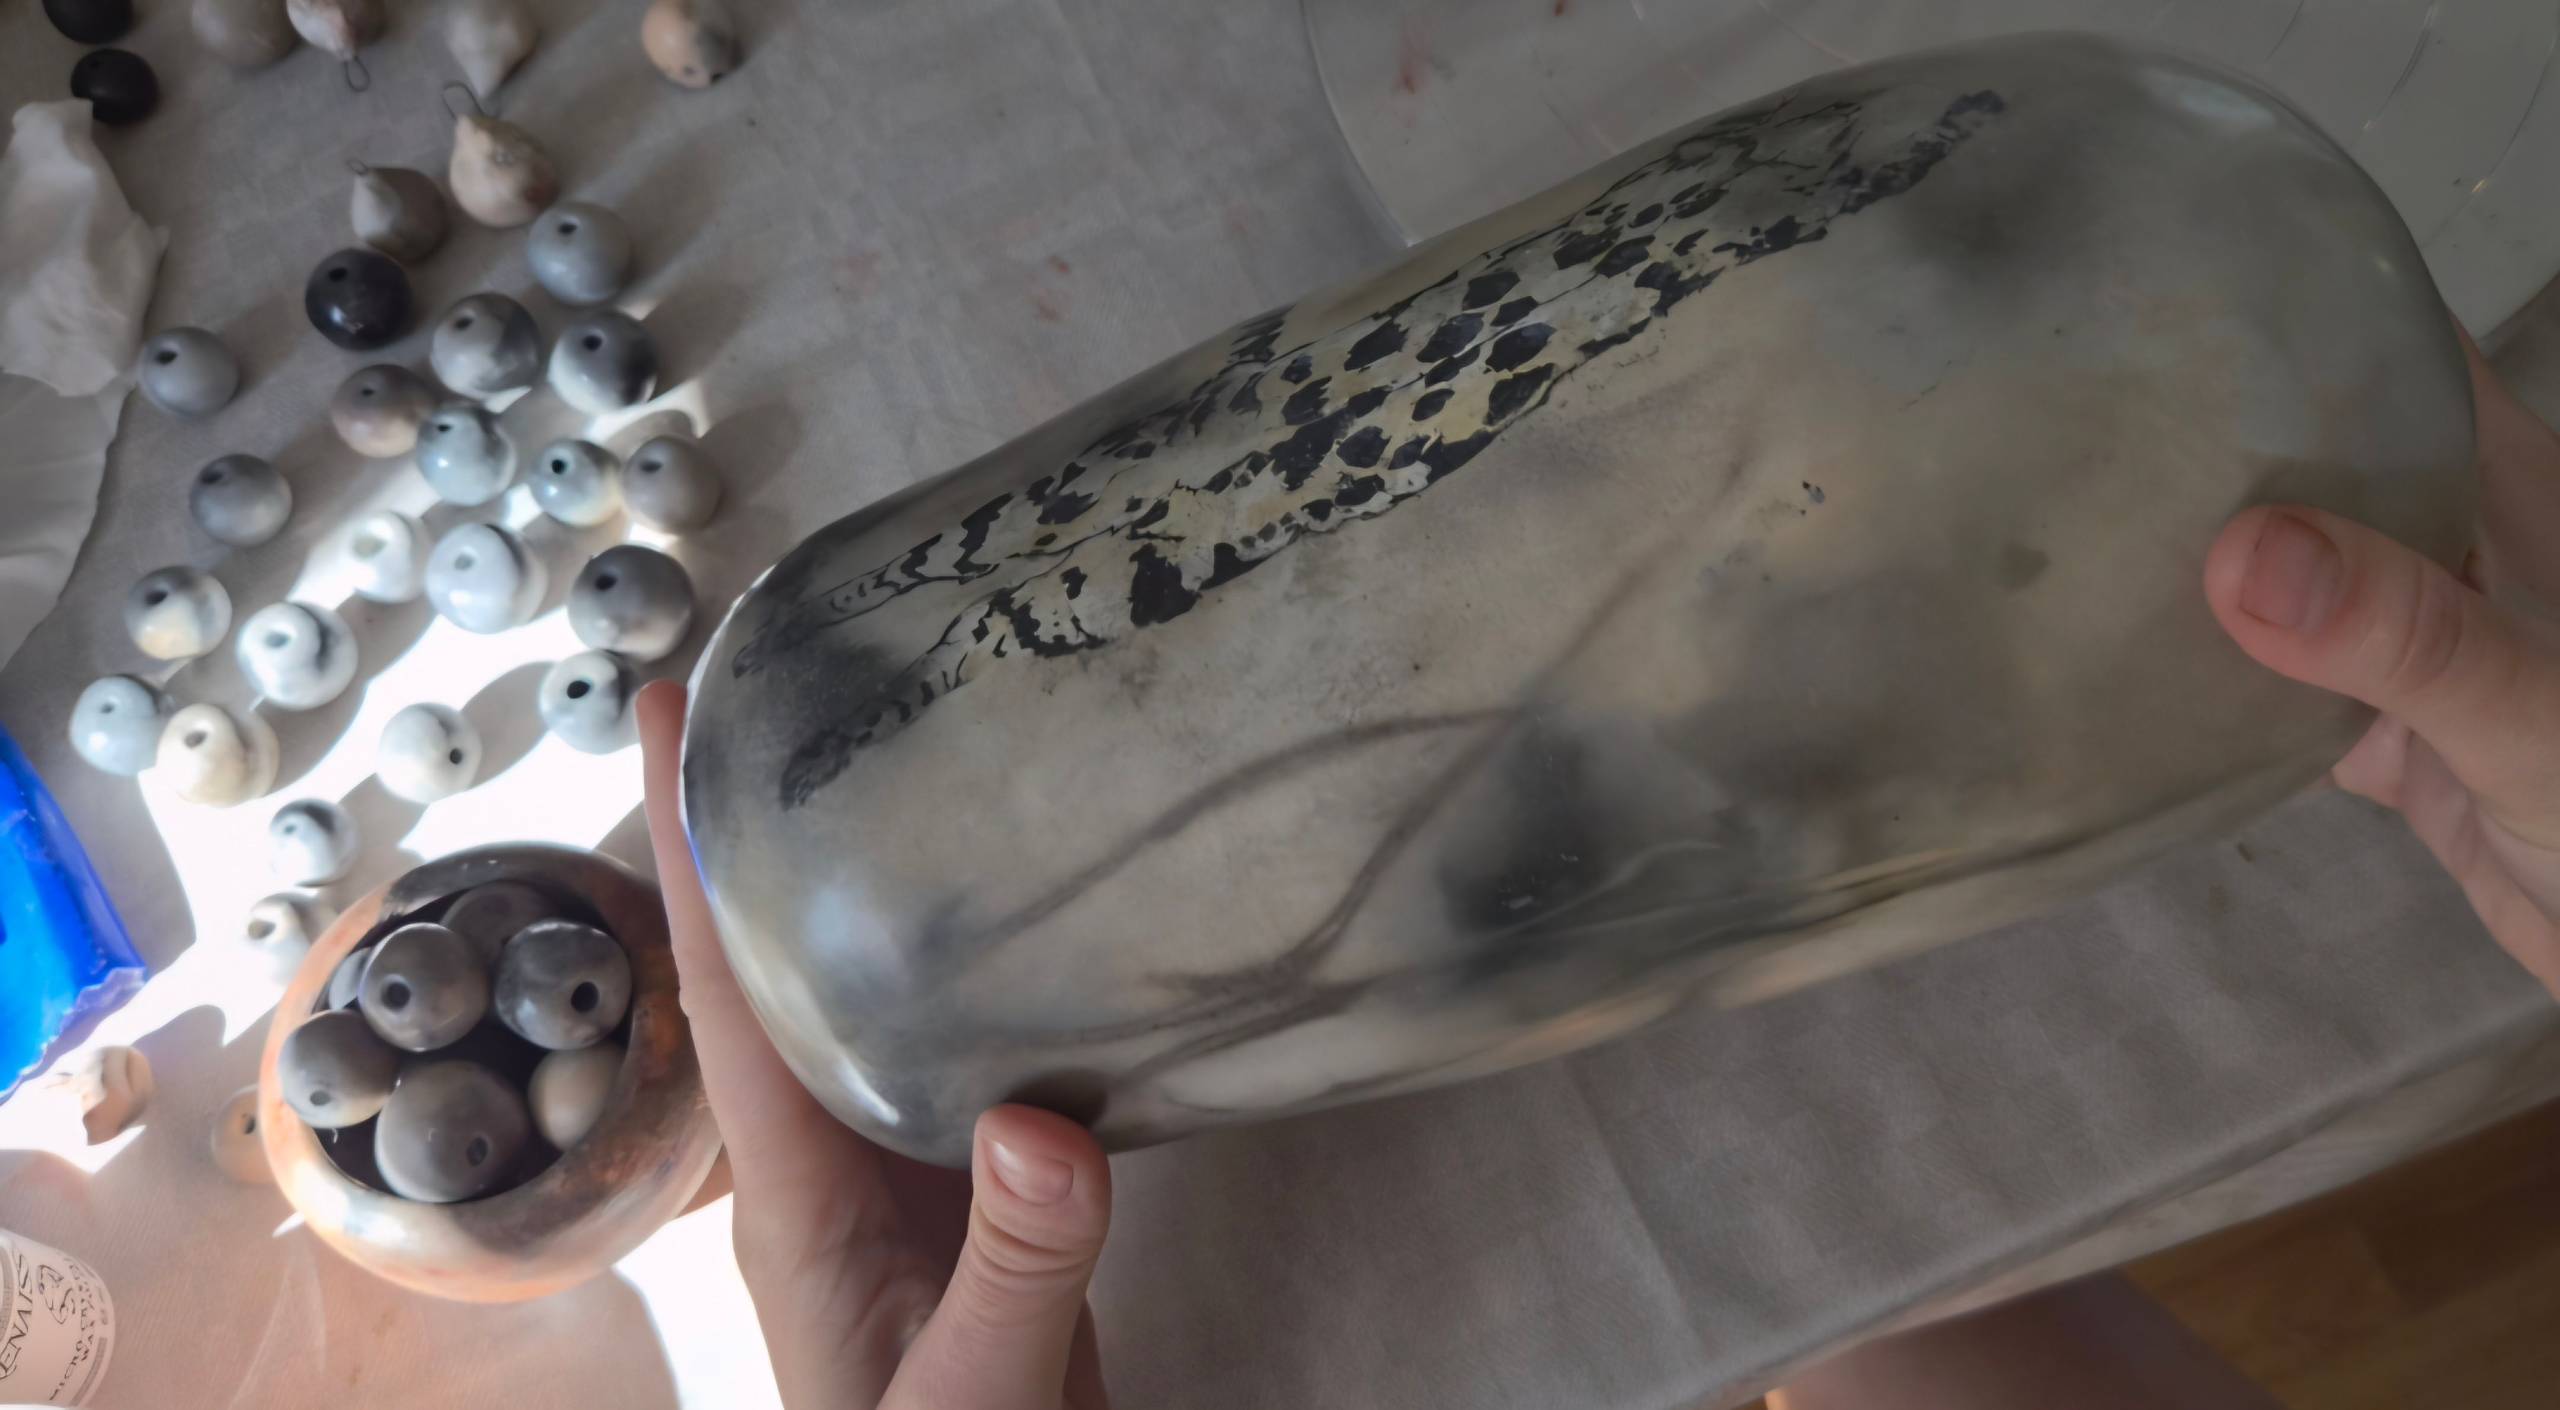
Take unfired clay to low-fire ceramic art with charcoal, a Weber grill and a few simple organic materials, the small-scale firing method I developed at home.
Firing clay isn't only for people with a kiln. It takes heat, smoke, airflow, and a method you can repeat.
In 2025, I came back home to Sweden after several years in the US. I brought ceramic experience but left my kiln behind. Unable to set up a new studio immediately, I researched atmospheric firing, but found that most pit-firing approaches I came across depended on the pieces being bisque-fired in a conventional kiln first. After a year of experimentation, I developed a small-scale method using charcoal, a Weber grill, and simple organic materials. This course shares that method with you.
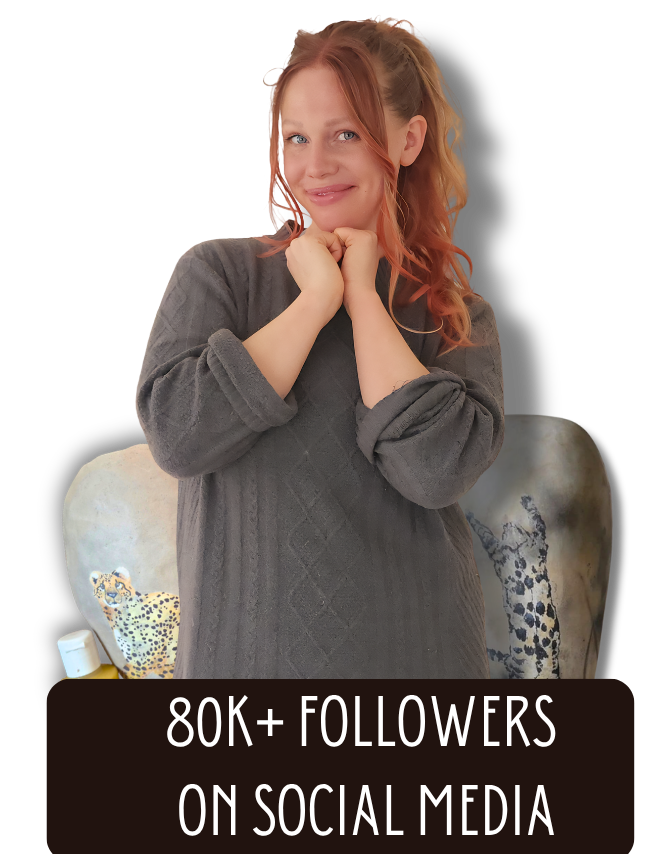
Hi, I'm Diana
I'm a ceramic artist. When I moved home to Sweden, I left my studio equipment behind (electric kiln included). So I started researching atmospheric firing, and kept experimenting until I had something I could use consistently.
Those principles are what I want to share with you. Working small makes this practice feel possible (you don't need a ceramic studio to start exploring what fire can do to clay).

Every firing teaches you something
Step-by-step lessons that walk you through a full firing from start to finish.
Testers to practice the process before you fire a larger piece.
Video lessons you can pause and rewatch, plus a glossary and checklists.
The course gives you exactly what you need: the method, the steps, and the clarity to do it yourself.
What you'll explore
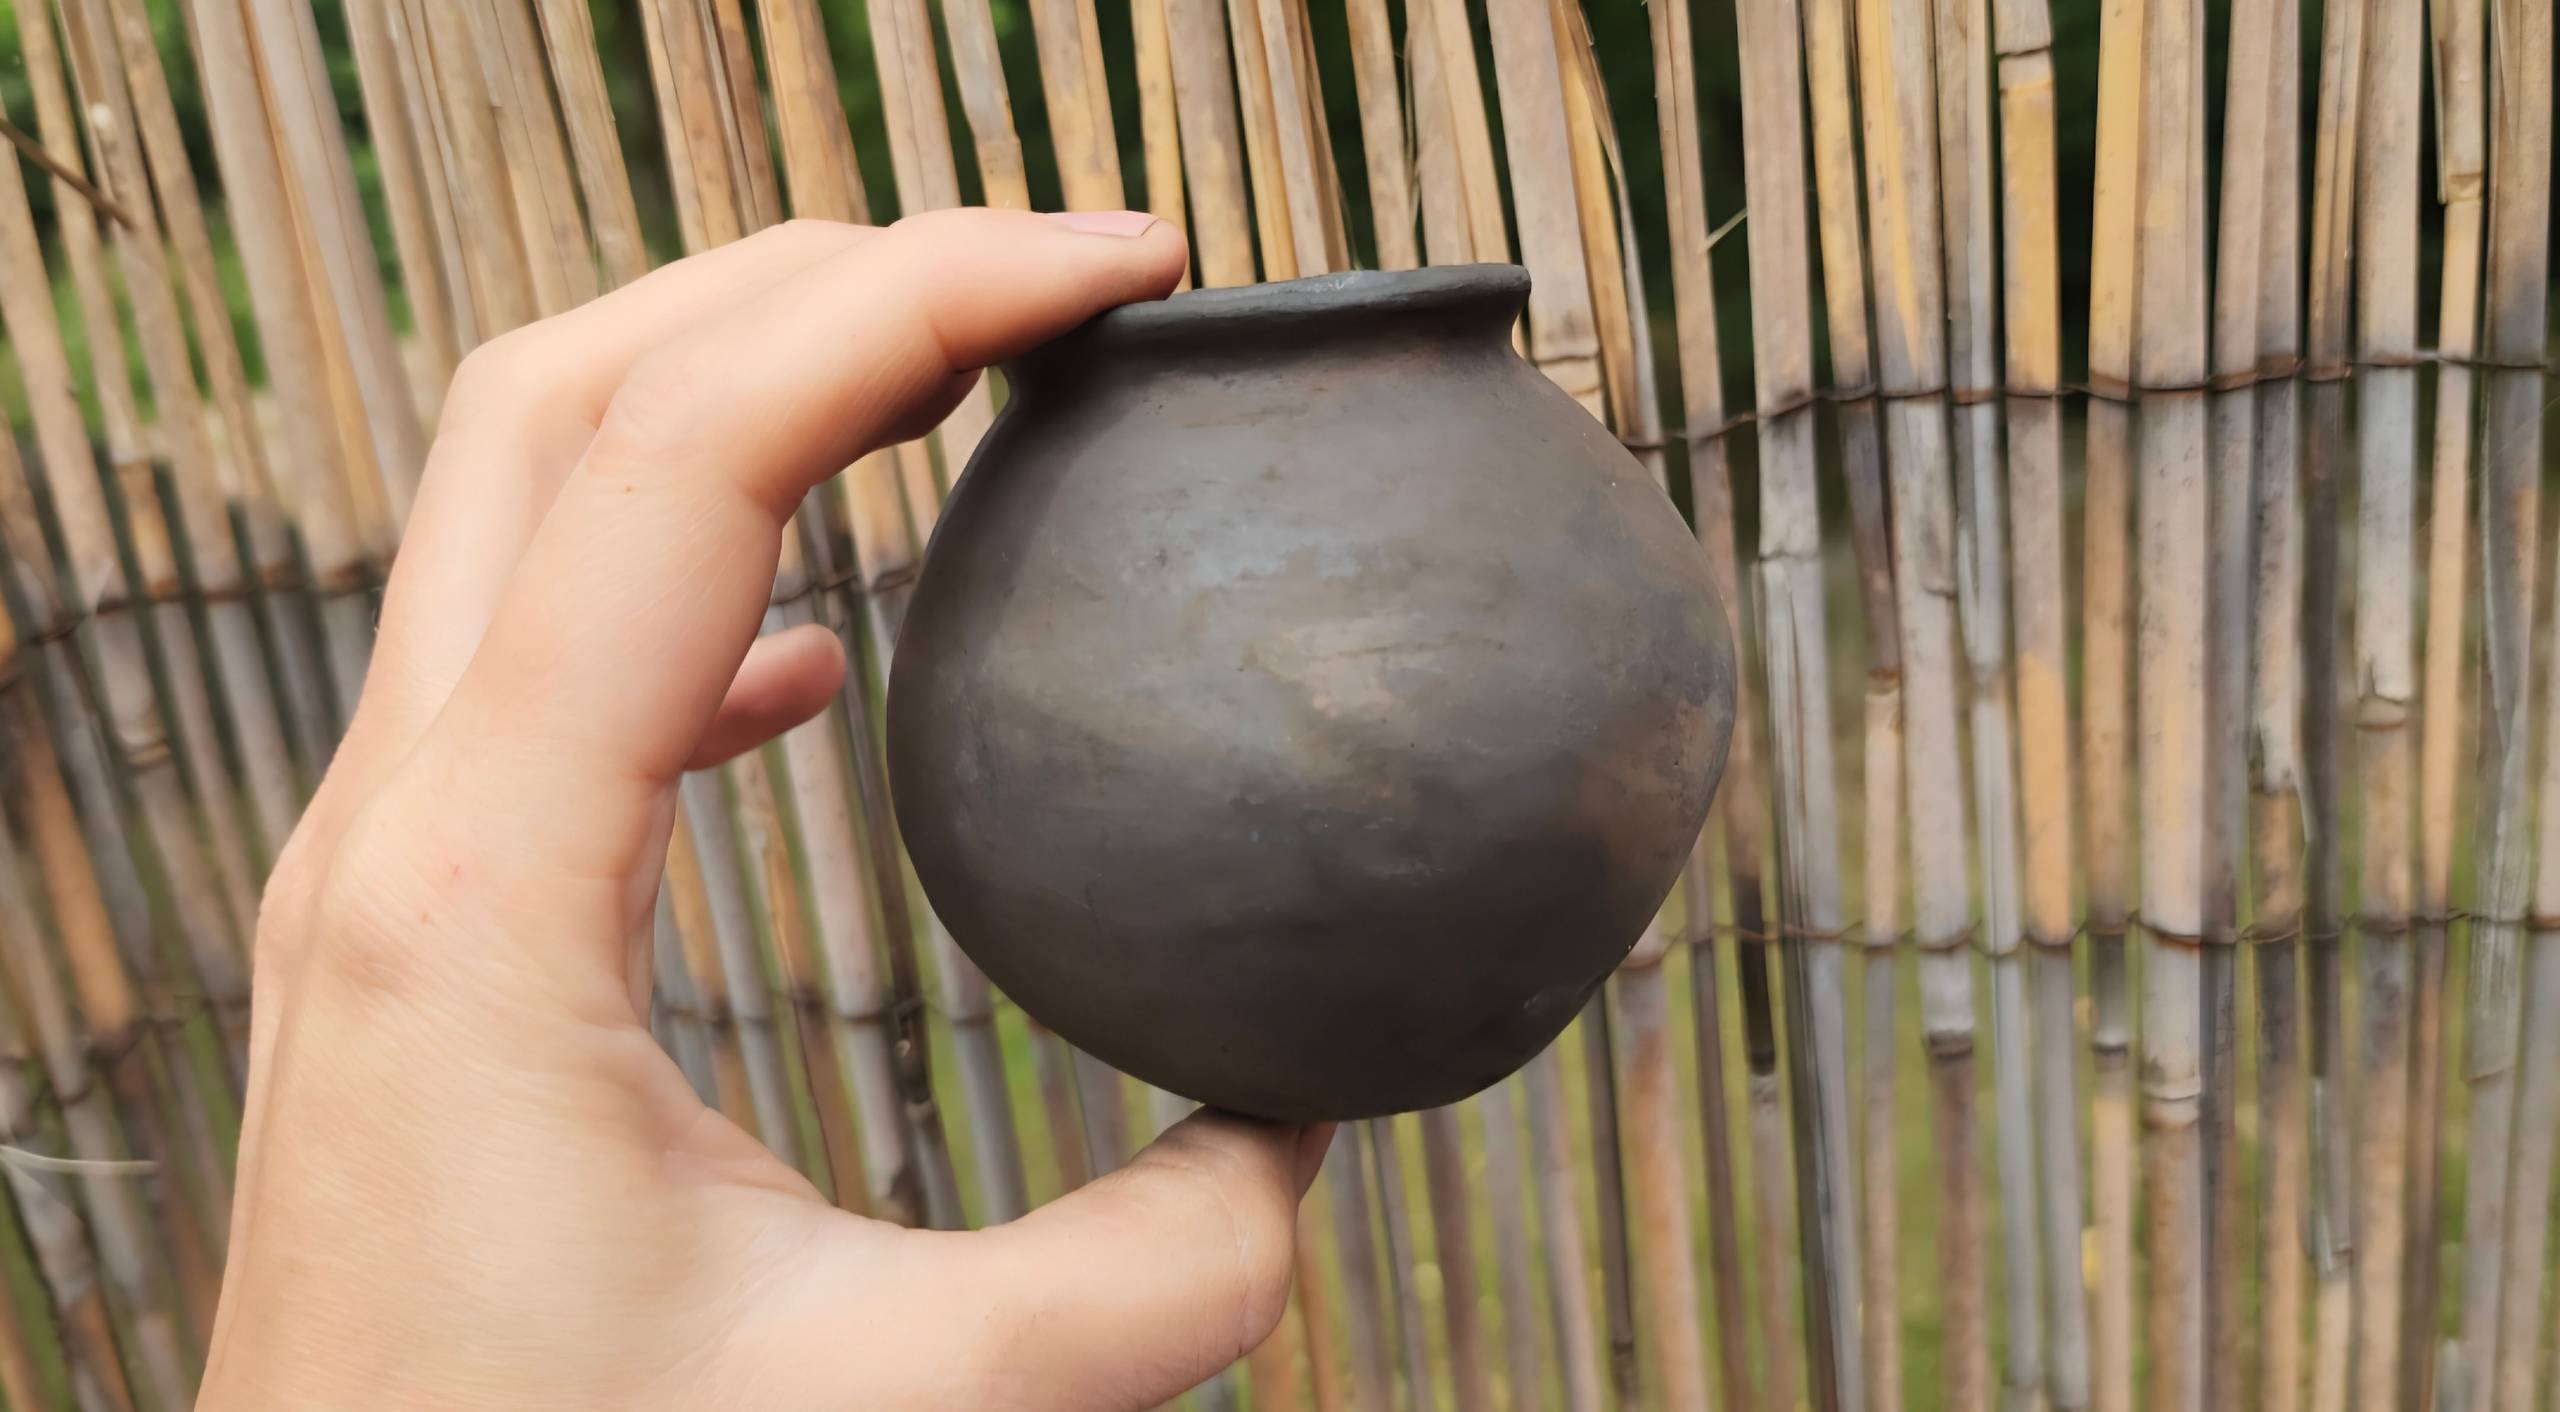
Pieces built to take the heat
Compression, hollowing, even walls and slow drying. The building habits that help unfired clay survive its first fire.
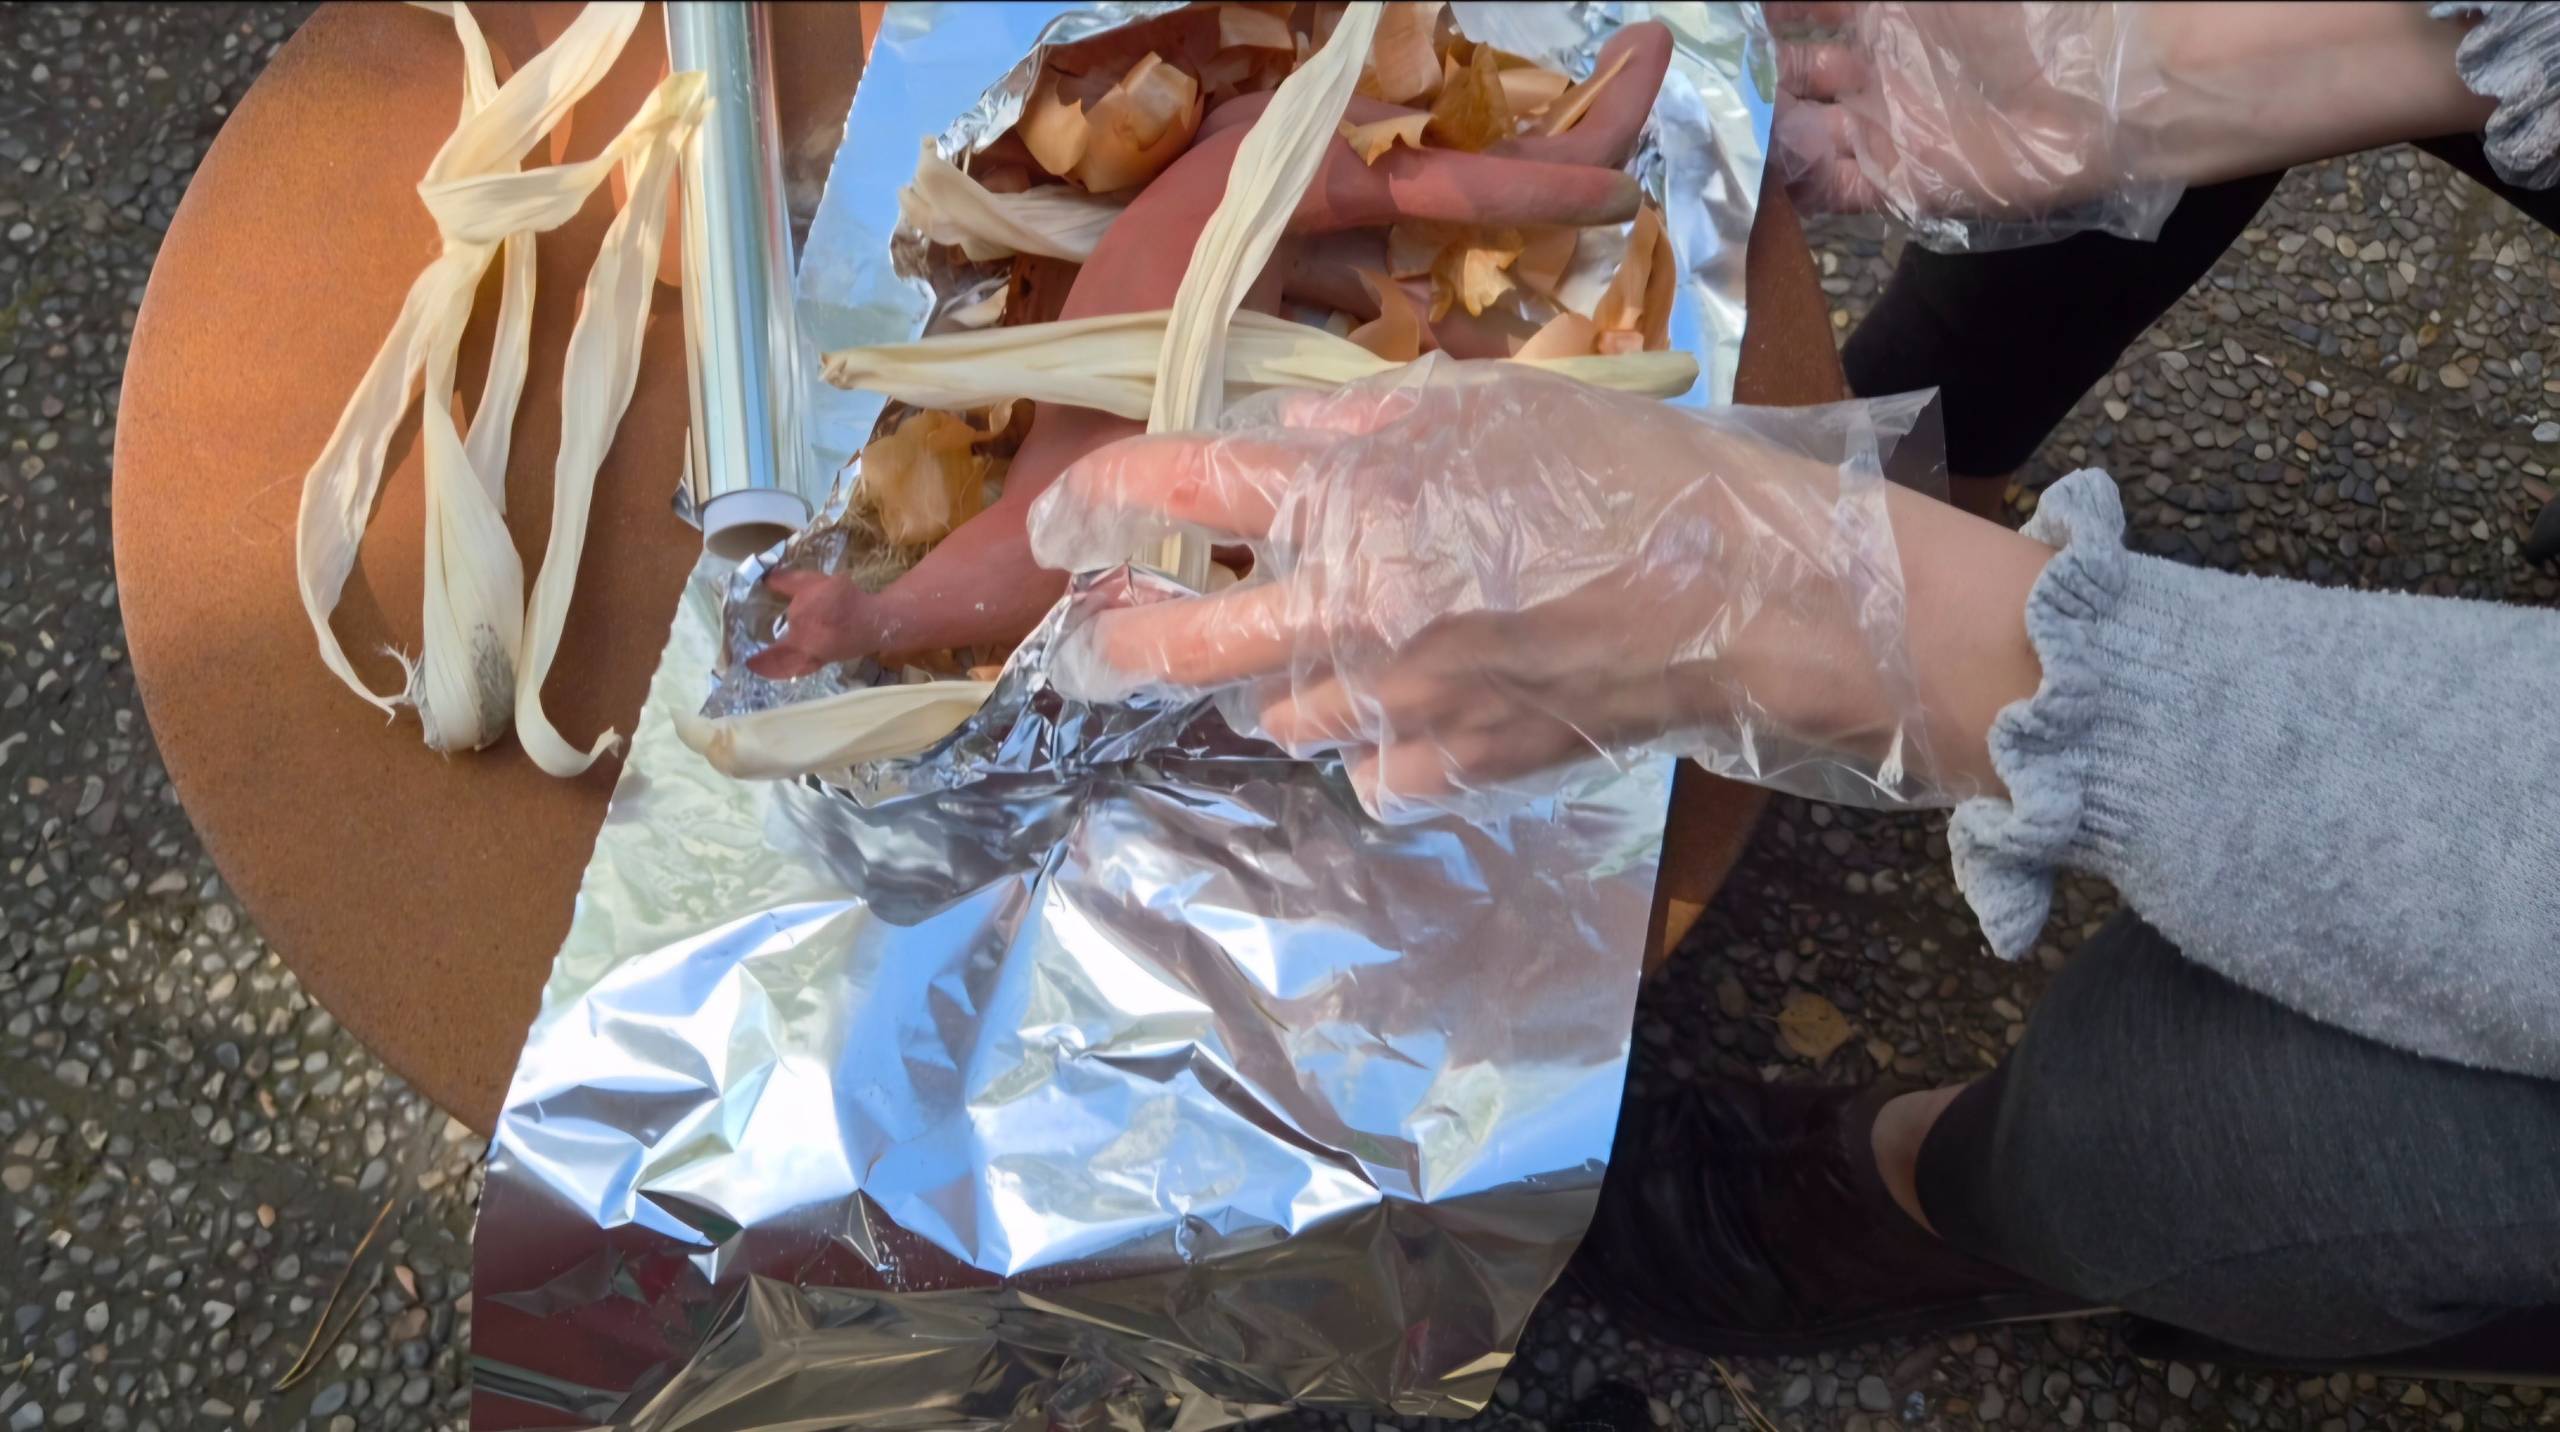
A saggar packed with intent
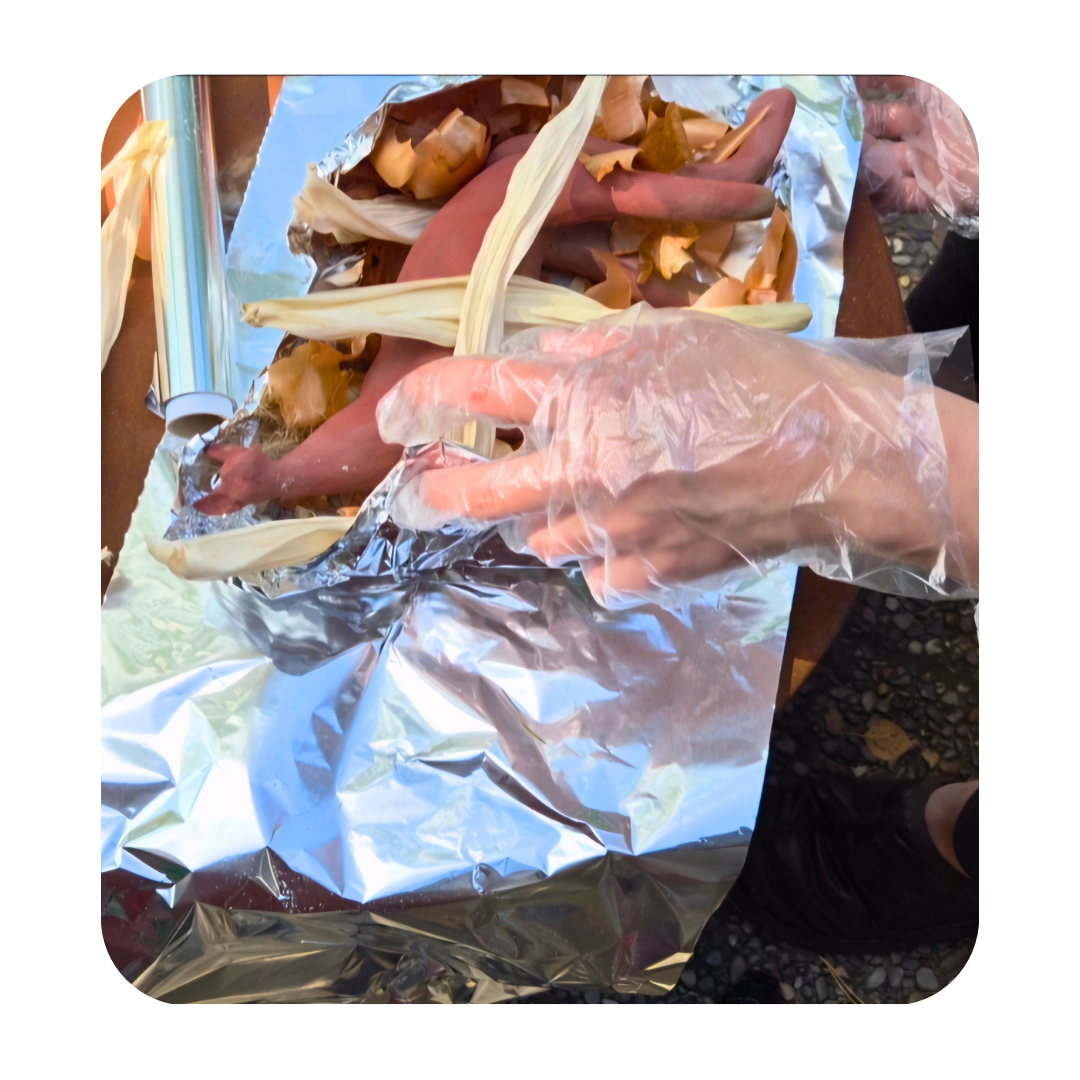
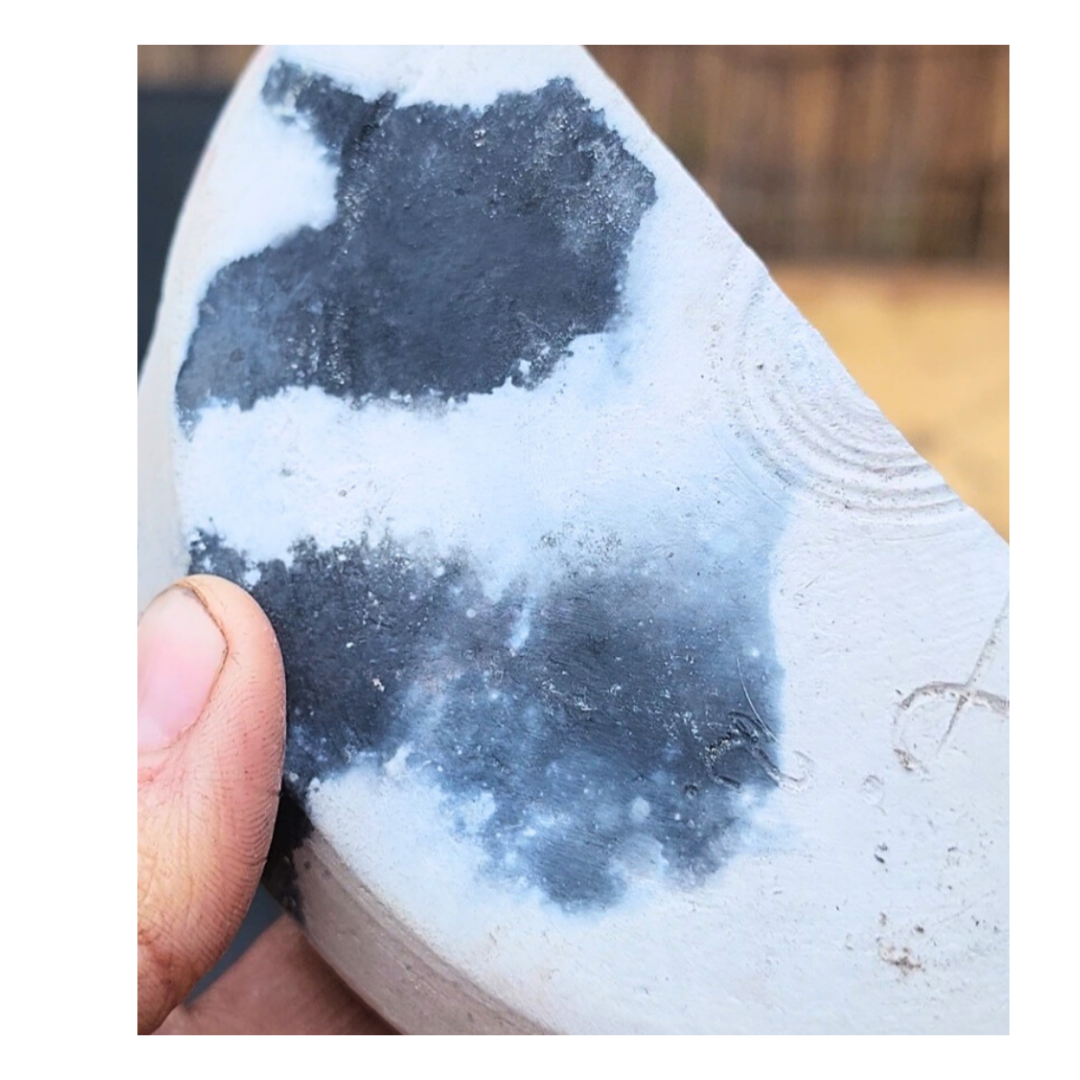
Layer materials and additives around your work and start anticipating the smoke and colour marks, rather than just hoping for them.
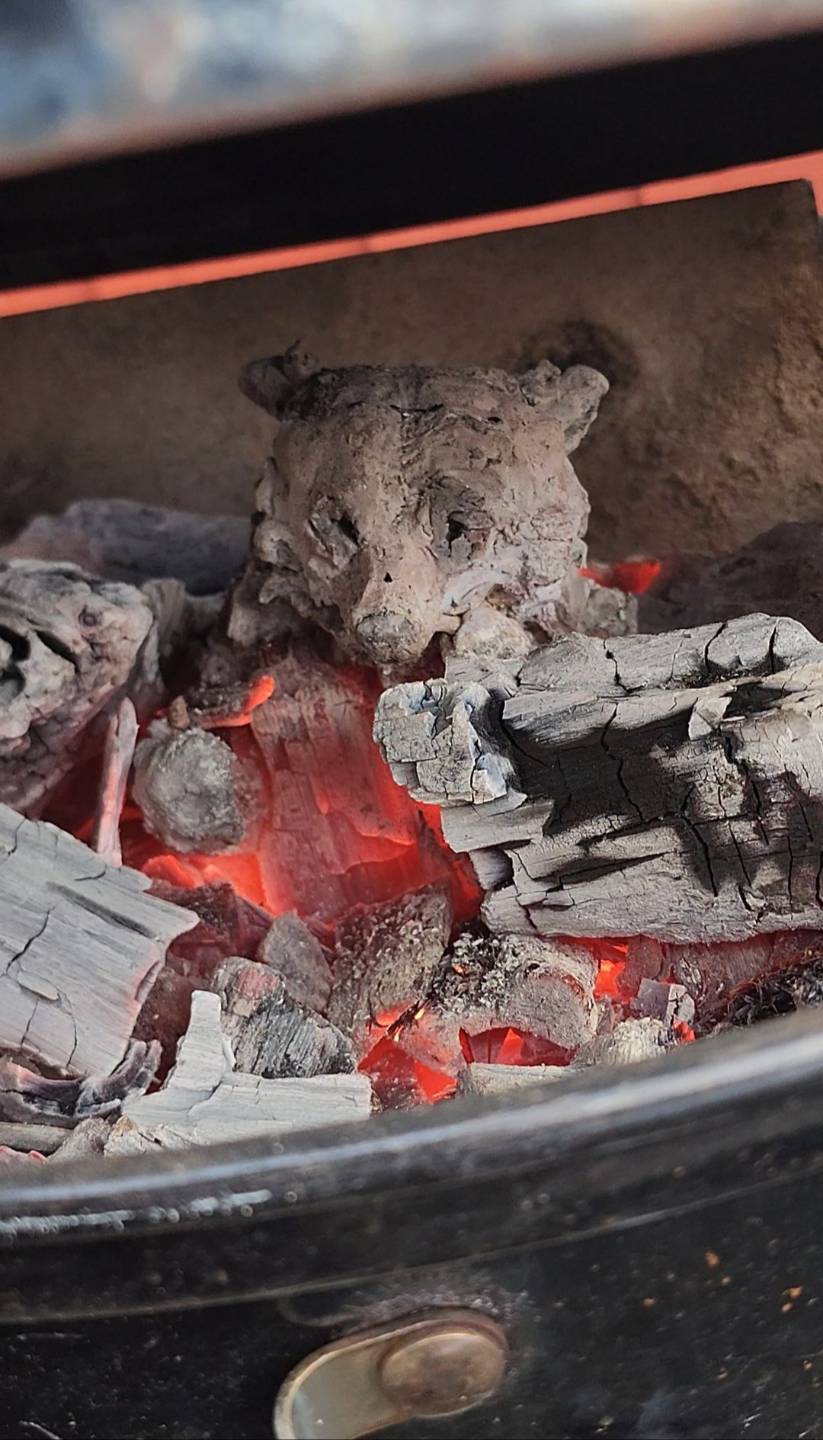
A firing you can run alone
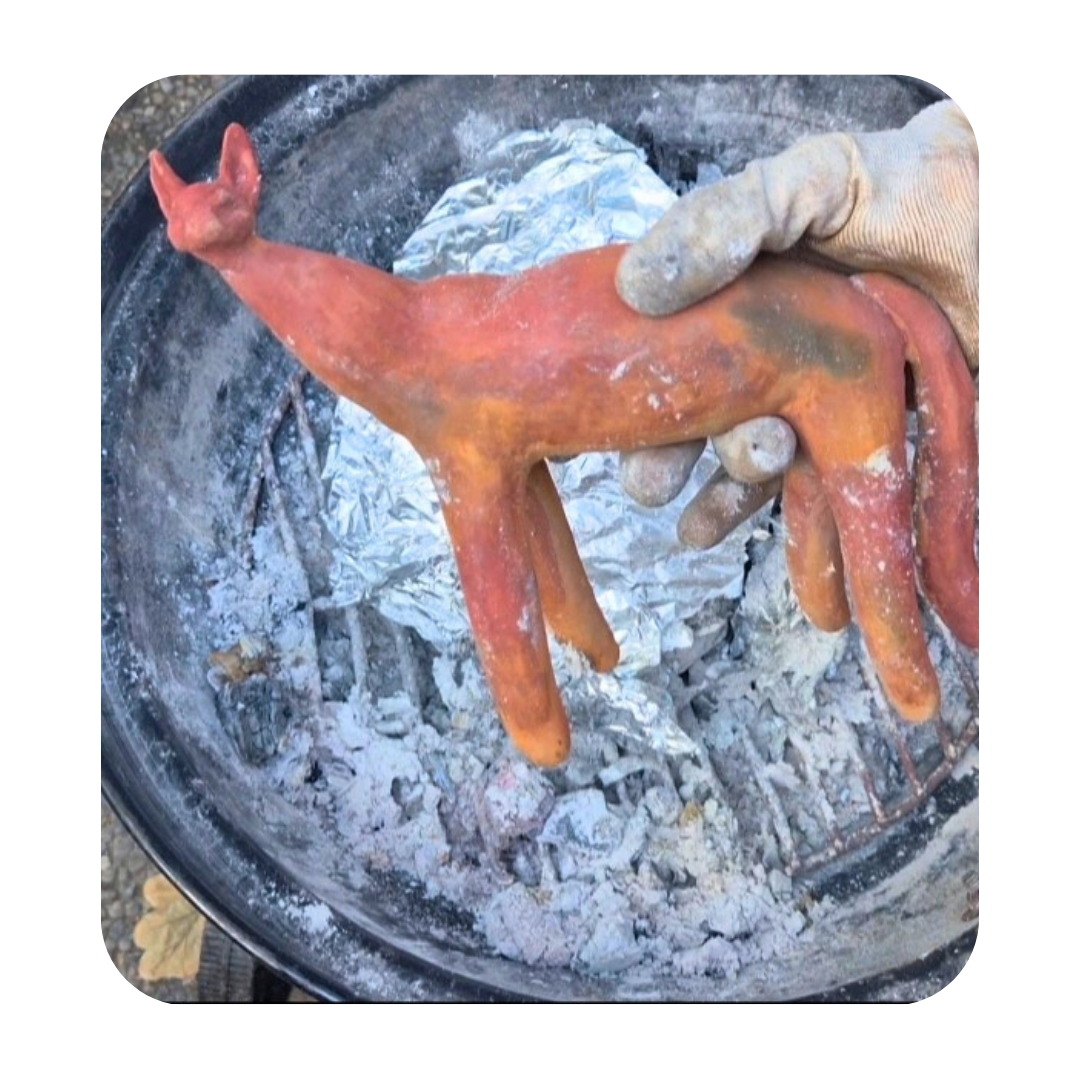
A complete grill firing from preheat to ash collection, then reading your results and sealing the finished piece.
Course Content
The course is divided into eight modules, from setting up your materials and firing area to firing larger, more vulnerable work. Each one builds on the last.
It's made for people who want to make ceramic art at home, without a kiln. You don't need firing experience, module two starts with the building fundamentals that help clay survive the fire.
Along the way you'll make testers, pack your first saggar, run a full firing, and design and build a project of your own, then fire it.
In this course, you'll learn
Introduction and set-up
Who I am, how the course works, the words we'll use, and the safety considerations to read before anything else.
Materials, safety and set-up
Choosing clay and tools, saggar packing materials, terra sigillata, and setting up both your clay space and your firing area.
Working with clay
Building fundamentals for unfired work. Compression, hollowing, even walls, drying, plus burnishing and terra sig. You'll make your first testers.
Designing a saggar
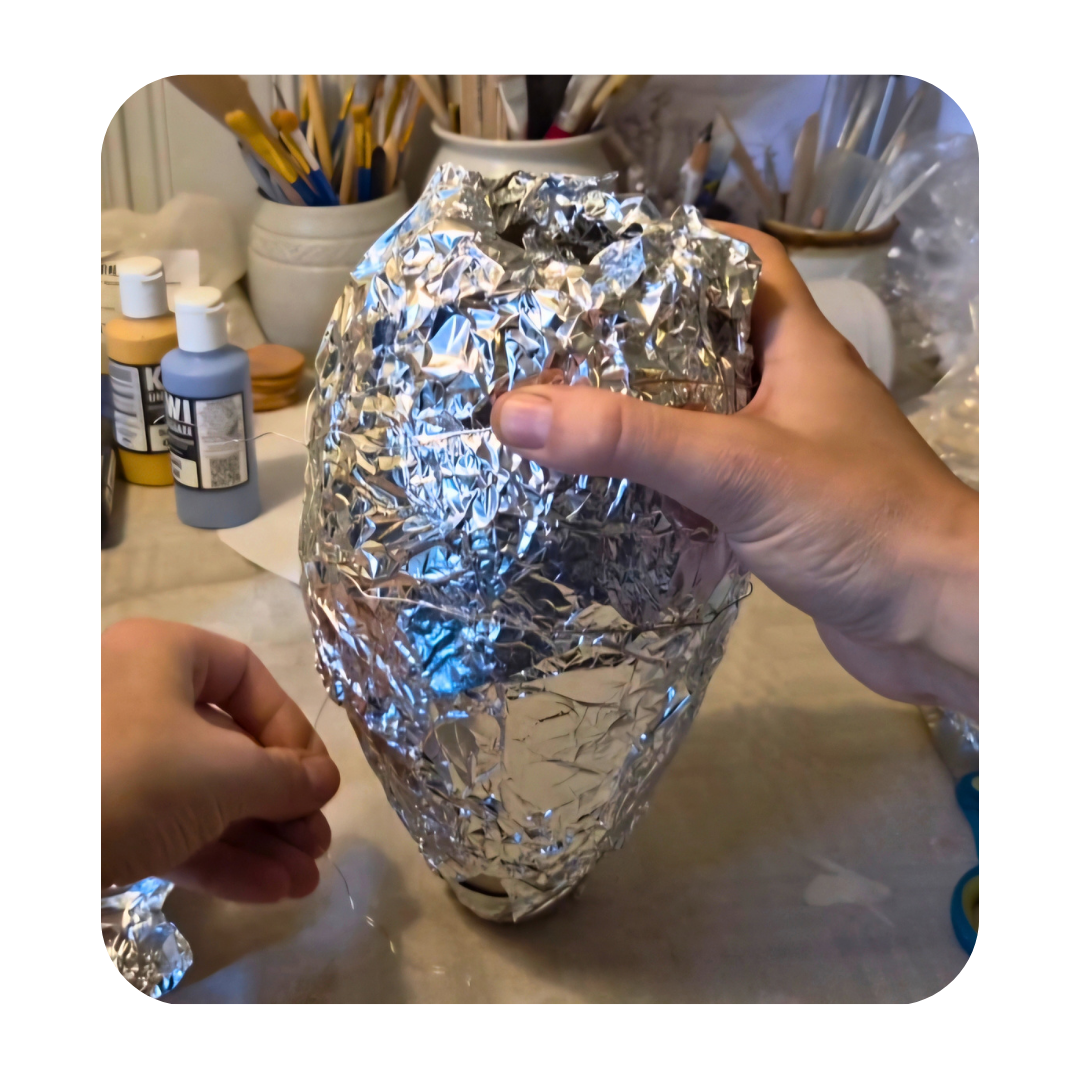
What a saggar is, why I use aluminium, and how to layer and pack one. Includes a clay tray tutorial and two PDF guides.
Your first fire
A practice round, a pre-firing checklist and the full firing flow filmed twice. Then cool-down, reading your results and sealing.
Designing a project
Stronger builds, air holes, texture and shape. You'll sketch a project and build its first version, with fewer variables to manage.
More saggar and surface techniques
Underglaze, decorated burnishing, layering and texture, and more ways to pack a saggar. Optional: five miniatures of your project.
Final firing
Preheating larger work, placement, airflow fixes and refiring. Then firing your project pieces and where to take the method next.
Included in my course fees:
Fundamentals & Materials
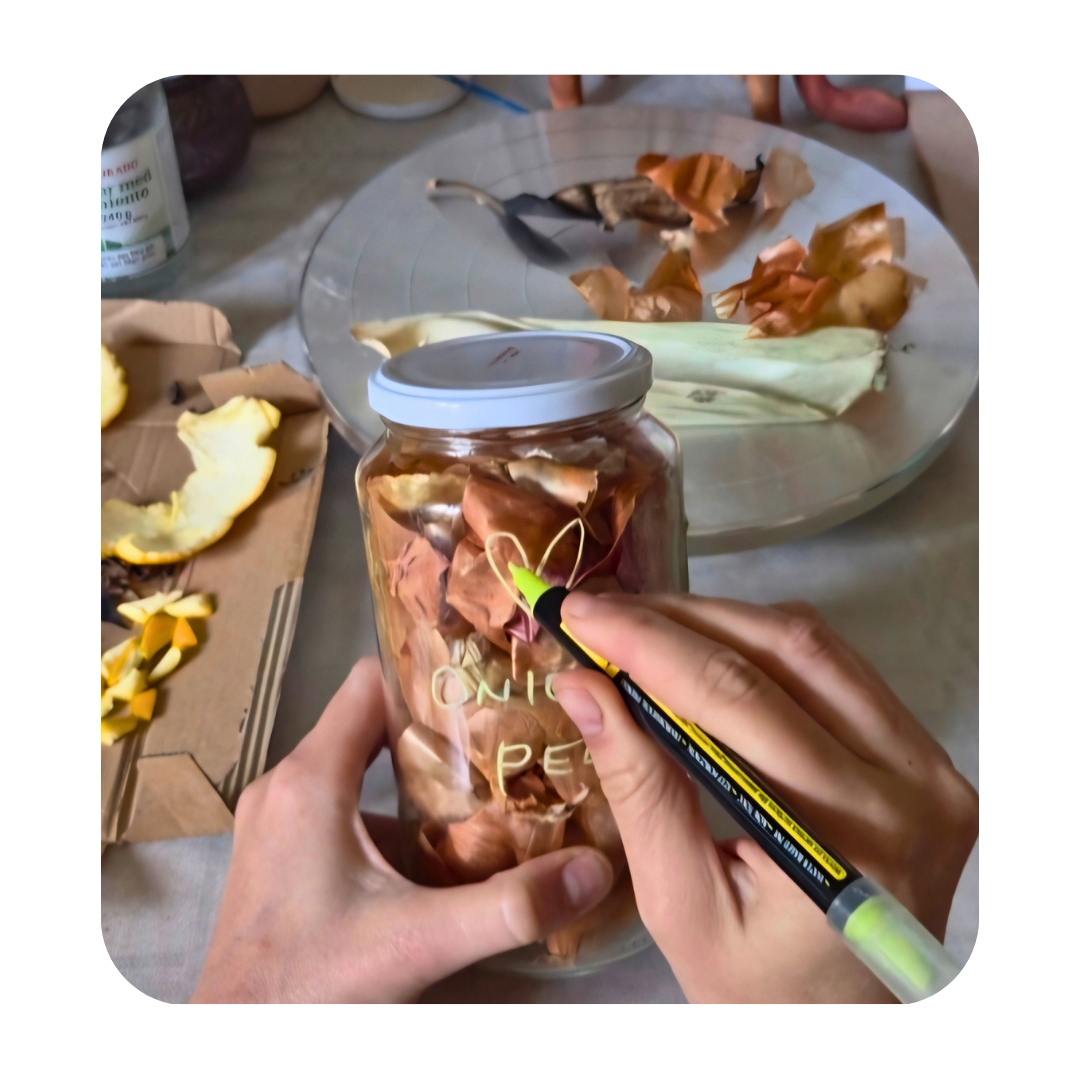
We will look together at the materials, basic techniques, and knowledge needed to begin this journey. Approaching a new technique means first learning how best to use the tools at your disposal.
Practical exercises
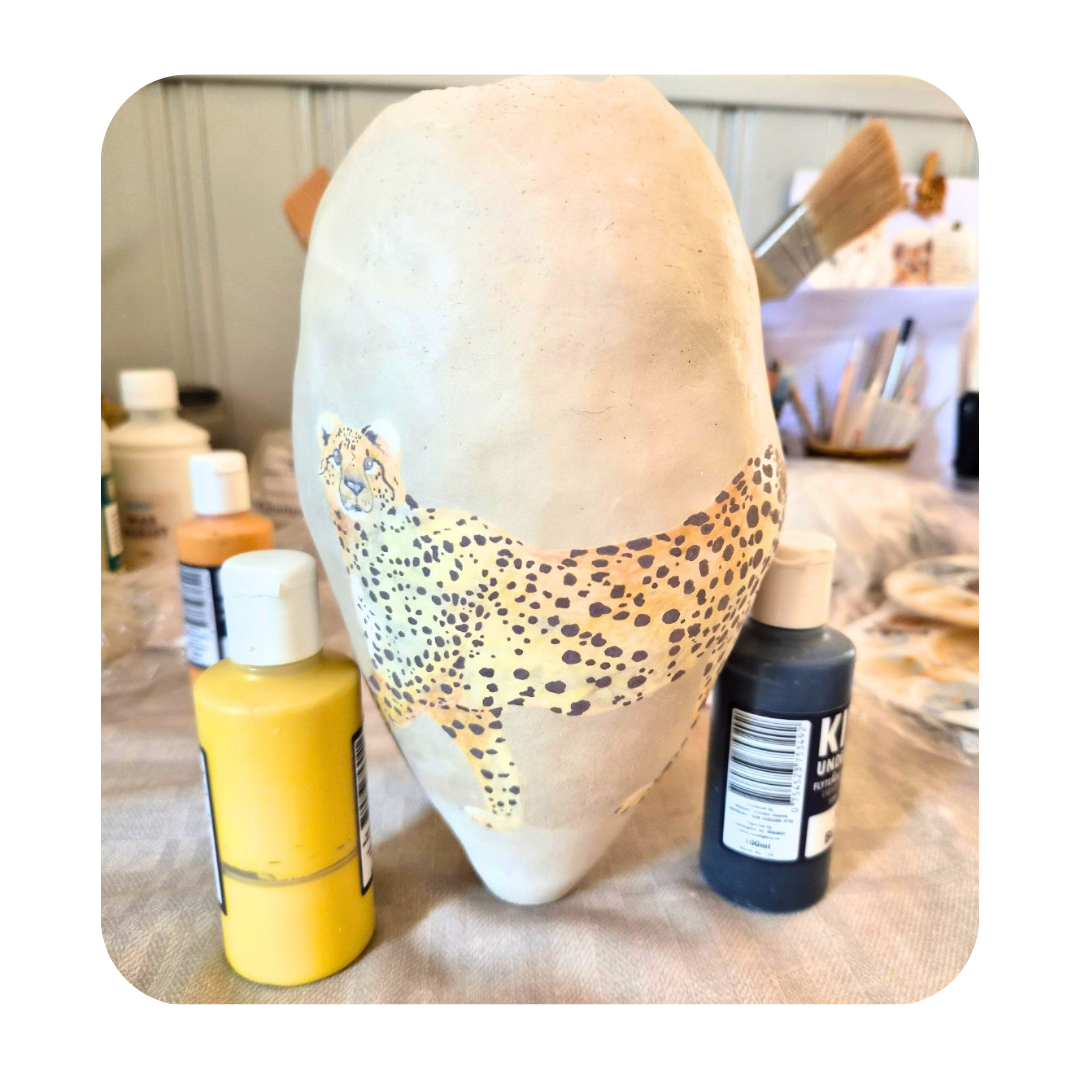
You'll make things as you go, not just watch videos. Beads first, then squares and testers, then a project of your own design. Each one you fire teaches you something the next one needs.
Lifetime Access
Once you register for the course, you will have lifetime access and you can watch it whenever you want! This will enable you to better learn even the most difficult notions. You don't have a deadline, you can take the course even for 5 minutes every other day!
Flexibility
This is one of the course's strengths: being able to watch the videos wherever you w1ant, whenever you want, and as many times as you want. The course is available from any device so you can watch the course from the comfort of your home or take a single lesson on the train!
Community of students
As soon as you sign up for the course, you will join a group of people who, like you, share this passion and are following the same course as you. This means you'll be able to exchange ideas, tips or ask questions because you'll be surrounded by people who love art the same way you do!
My support
You can always write to me with your questions, and I’ll share my feedback whenever I can. I know that the creative process isn’t always easy. Don’t worry, I’ll be here to guide you, answer your questions, and help you move forward step by step.
... and more!
JOIN NOWFind out more about what you'll get with the course!
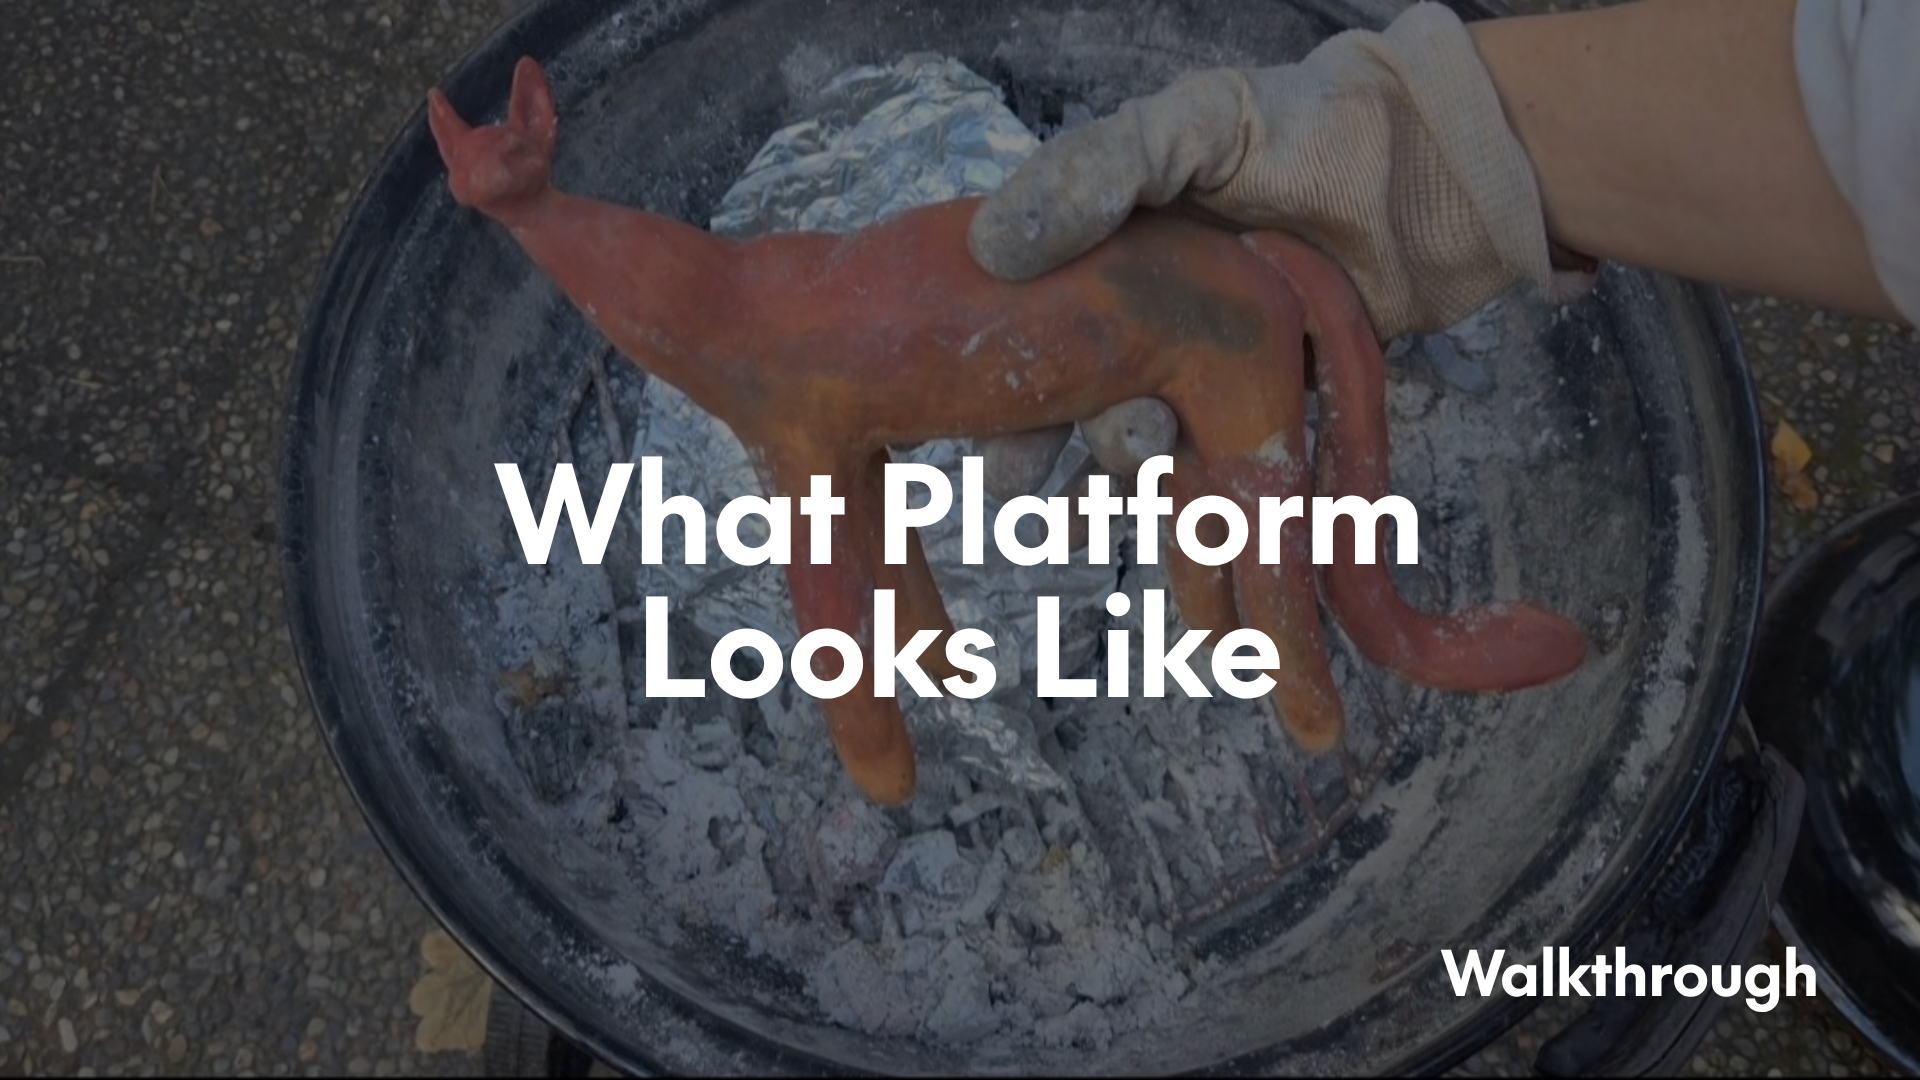
The course moves in the order I'd teach it at my own table. Every module builds on the one before, and the lessons are pre-recorded videos you can pause and rewatch on any device.
Bonuses
Extra material included with the course.
A few things to know before you begin
This course works with open fire, heat and smoke. I'd rather you know the limits now than find them later.
For adults only (18+)
This course is not for children. It involves open fire, high heat, smoke and hot materials.
Follow your local fire rules
Check the fire and firing restrictions where you live before every firing, and work responsibly with fire and the materials involved.
Not food safe
Pieces made with this method should not be used for food or drink. It's also not intended to replace a conventional electric kiln.
My method, not a universal recipe
I share the process I developed through my own experiments. It's a starting point for your own relationship with clay, fire, smoke and atmosphere.
REGISTRATIONS ARE CLOSING SOON!
Learn a small-scale atmospheric firing method you can keep exploring, with the clay, a grill and what you already have.
00
DAYS
00
HOURS
00
MINS
00
SECS
GET IMMEDIATE ACCESS TO
No Kiln Ceramics; Atmospheric ways for contemporary clay
SPECIAL INSTALLMENT OPTION
Over the last couple of days, I’ve received a few heartfelt messages from people saying they’d love to join but just couldn’t manage the full payment right now, and I completely understand.
So, I’ve added a more flexible 6-month payment option to make it easier for anyone who needs a bit more time.
The price displayed below is in dollars, but you can pay with ANY currency. You will have immediate access to the course!
Start learning today! :)
My guarantee for you
If the course isn't right for you, let me know within 14 days of purchase and you'll get a full refund. Watch the first lessons, look at the materials and the set-up, and decide whether this way of working suits you.
Frequently asked questions
Is the course live?
What are the payment methods?
Is it suitable for beginners?
Can I buy the course as a gift to someone?
Will I have access to the course right away?
For how long will I have access to the course?
Can I pay with any currency?
Do you have a refund policy?
Are registrations opening again soon?
Is the price just a one time payment?
Do I need a kiln or a studio?
Is there an age limit?
Can I fire indoors or on a balcony?
Is this a complete guide to atmospheric firing?
Will my pieces be food safe?
Join Our Free Trial
Get started today before this once in a lifetime opportunity expires.